
9 Top Tips for Hiking Dog Mountain in the Columbia Gorge (May 2025 Photos)
I feel incredibly lucky to have run, hiked, and run-hiked Dog Mountain in the Columbia River Gorge dozens of times.
When I worked for the Girl Scouts, I got to see all kinds of youth and adults visit the mountain for their first time. For some, it was a breeze. For others, it was the hardest physical challenge they’d done in life! For all of us, the hike is a fantastic place to connect with your body and the land we’re privileged to recreate on.
On May 6, 2025, I ran the front side lap to soak in the peak balsamroot wildflower bloom. Between running/huffing/puffing and snapping a few photos, I chatted with a few folks and answered questions about the hike. It reminded me of the importance of sharing our trail knowledge so that others can have a happy, healthy, hike.
So, I thought that I’d share some of my top tips for hiking Dog Mountain, especially if you’re planning your first time. The photos between tips are from my hike this week so you can get an idea for current conditions (which of course can change at any moment!).

View from the first big viewpoint, about 1.75 miles in. This can be a great turnaround spot for anyone who wants a taste without going all the way to the summit.
Tip #1: Know the three main route options (and choose wisely).
From the trailhead sign, you have two options: Dog Mountain Trail (hiker’s right) and Augspurger Trail (hiker’s left).
I recommend starting right up the Dog trail, and usually descending down the Augspurger Trail (so a counter-clockwise loop). If you take the “Difficult” (not the “More Difficult”) signed path at the top of the initial climb, this gives you about 3 miles of ascent that maximize views and flowers, and 4 miles of descent down the back/side end of the mountain which allows for a gentler downclimb and more shade.
I almost always do that loop. I take photos of flowers on the way up (yay, breaks!) and enjoy the extra mile on the way down for about a 7 mile loop. The Augspurger Trail is also typically far less crowded. You could do it in reverse (clockwise) if your muscles and joints prefer a less steep uphill and a more steep downhill.
Other options are to out-and-back the same trail, or to take the “More Difficult” option at the top of the initial switchbacks, which cuts off a little bit of distance but has fewer views, a tougher grade, and not much benefit.

Getting up closer to the summit.
Tip #2: Always prepare for wind, no matter the forecast.
The summit is infamous for howling winds, and that can happen any time of year. It can be 20 degrees colder at the top than at the trailhead! Pack windproof layers and something to protect your ears/head especially in cooler seasons. Even in the summer, I bring a windbreaker just in case. Yesterday was actually one of the stillest days I’ve been up there.

Balsamroot is close to peak around May 6, 2025!
Tip #3: Brush up on your wilderness first aid skills.
I used to volunteer for Search & Rescue, and it’s surprising how many people get injured on Dog Mountain! The #1 tip for anyone regarding wilderness first aid is to focus on prevention of accidents. Shoes with traction, using poles if you need more stability, know your personal limits (the summit is optional!).
Accidents happen, and if you do need to wait for a rescue for yourself or someone in your party, you’ll be very grateful to have layers, snacks, and water in your pack.
Beware of poison oak (just stay on the trail).
Most cell phone carries do NOT have cell service along most of the hike. I have Cricket Wireless and have 5G at the summit, but at the trailhead signal is quite weak, and for the forested section it’s a dead zone.

Mount Saint Helens in all her glory.
Tip #4: Expect crowds during peak season, and be graceful in them.
Nice weather weekends at anytime of year can lead to a crowded parking lot, but wildflower season (late April to early June) draws hundreds of hikers daily, even on weekdays.
In trail etiquette, uphill hikers have right-of-way. Downhill hikes should typically pause and step aside so that uphill hikers can continue.
Step aside to take breaks so others can pass, smile when someone’s huffing beside you, and remember that we’re all here for the same magic. Kindness makes everyone hike happier, especially when the trail gets tight. Be mindful of holding people up when you’re taking photos, offer to take others’ photos, etc. Be good to each other.

The final push to the summit.
Tip #5: Practice Leave No Trace, particularly among the wildflowers and trail shortcuts.
Please stay on the marked trail, even if it’s muddy or crowded. Stepping off the trail in the wildflower areas can prevent flowers from growing back. I know there are some damaged spots that people reuse in order to get the perfect Instagram photo. Please try to refrain from stepping off the main trail at all, because otherwise, over time, we’ll get less and less flowers to enjoy.
Cutting switchbacks causes erosion and destroys delicate wildflower habitat. Also, be mindful pack out everything that you brought to the hike. That includes tissues, wrappers, and yes, dog poop bags! I was sad to see a couple dog poop bags alongside the trail.

Check out the top of Mt. Hood!
Tip #6: Research local landmarks (and plant species) to geek out from the summit!
Towards the summit, you can see Mount St. Helens (the flattish one to the north), the top of Mount Hood (poking above the Gorge rim to the South), and the Columbia River winding below. Wind Mountain is the conical mountain that’s prominently viewed from the trail. Home Valley is the area beneath Wind.
Most of the yellow wildflowers are balsamroot. Many purple ones are lupine. The rarer bright red ones are paintbrush.
The hike is extra rewarding when you can name what you’re looking at and share it with somebody else!

Looking out at Wind Mountain, Home Valley, and Carson, WA.
Tip #7: Fuel is your friend (and so is hydration).
This hike climbs over 2,800 feet in under 3 miles: that’s a lot of sweat. Eat a solid meal before you start, pack high-calorie snacks that are mainly carbs, and bring more water than you think you’ll need. I recommend at least 1.5 liters per person, even more on warm days. If you’re more inclined to drink when there’s flavor, pop in some electrolyte powder before you start.
I’m typically running (running/power-hiking, hah!) the trail, and the loop takes me about 1:40, so I pack about 2 hours’ worth of carb-focused snacks and hydration in my running pack, aiming for 200-300 calories/hour. You’d be amazed what fueling properly can do for your energy! Sometimes, just a couple minutes after snacking, I’ll get a burst of energy that naturally picks up my pace.

Stumbling over rocks is common, and so are twisted ankles. Watch your footing carefully, especially when out of the forest where it’s rockier.
Tip #8: Pick a time of day to hike that excites you.
Dog Mountain is fantastic any time of day, so consider what kind of magic you want for your hike. Sunrise is spectacular if you’re willing to wake early (and you’ll beat the parking and trail crowds). Sunset is popular for many, especially in wildflower season (but you’ll need adequate headlamps/batteries on way down).
My personal favorite is a moody morning with drizzle that gives way to clouds when the marine layer burns off… Watch the weather for a great window!
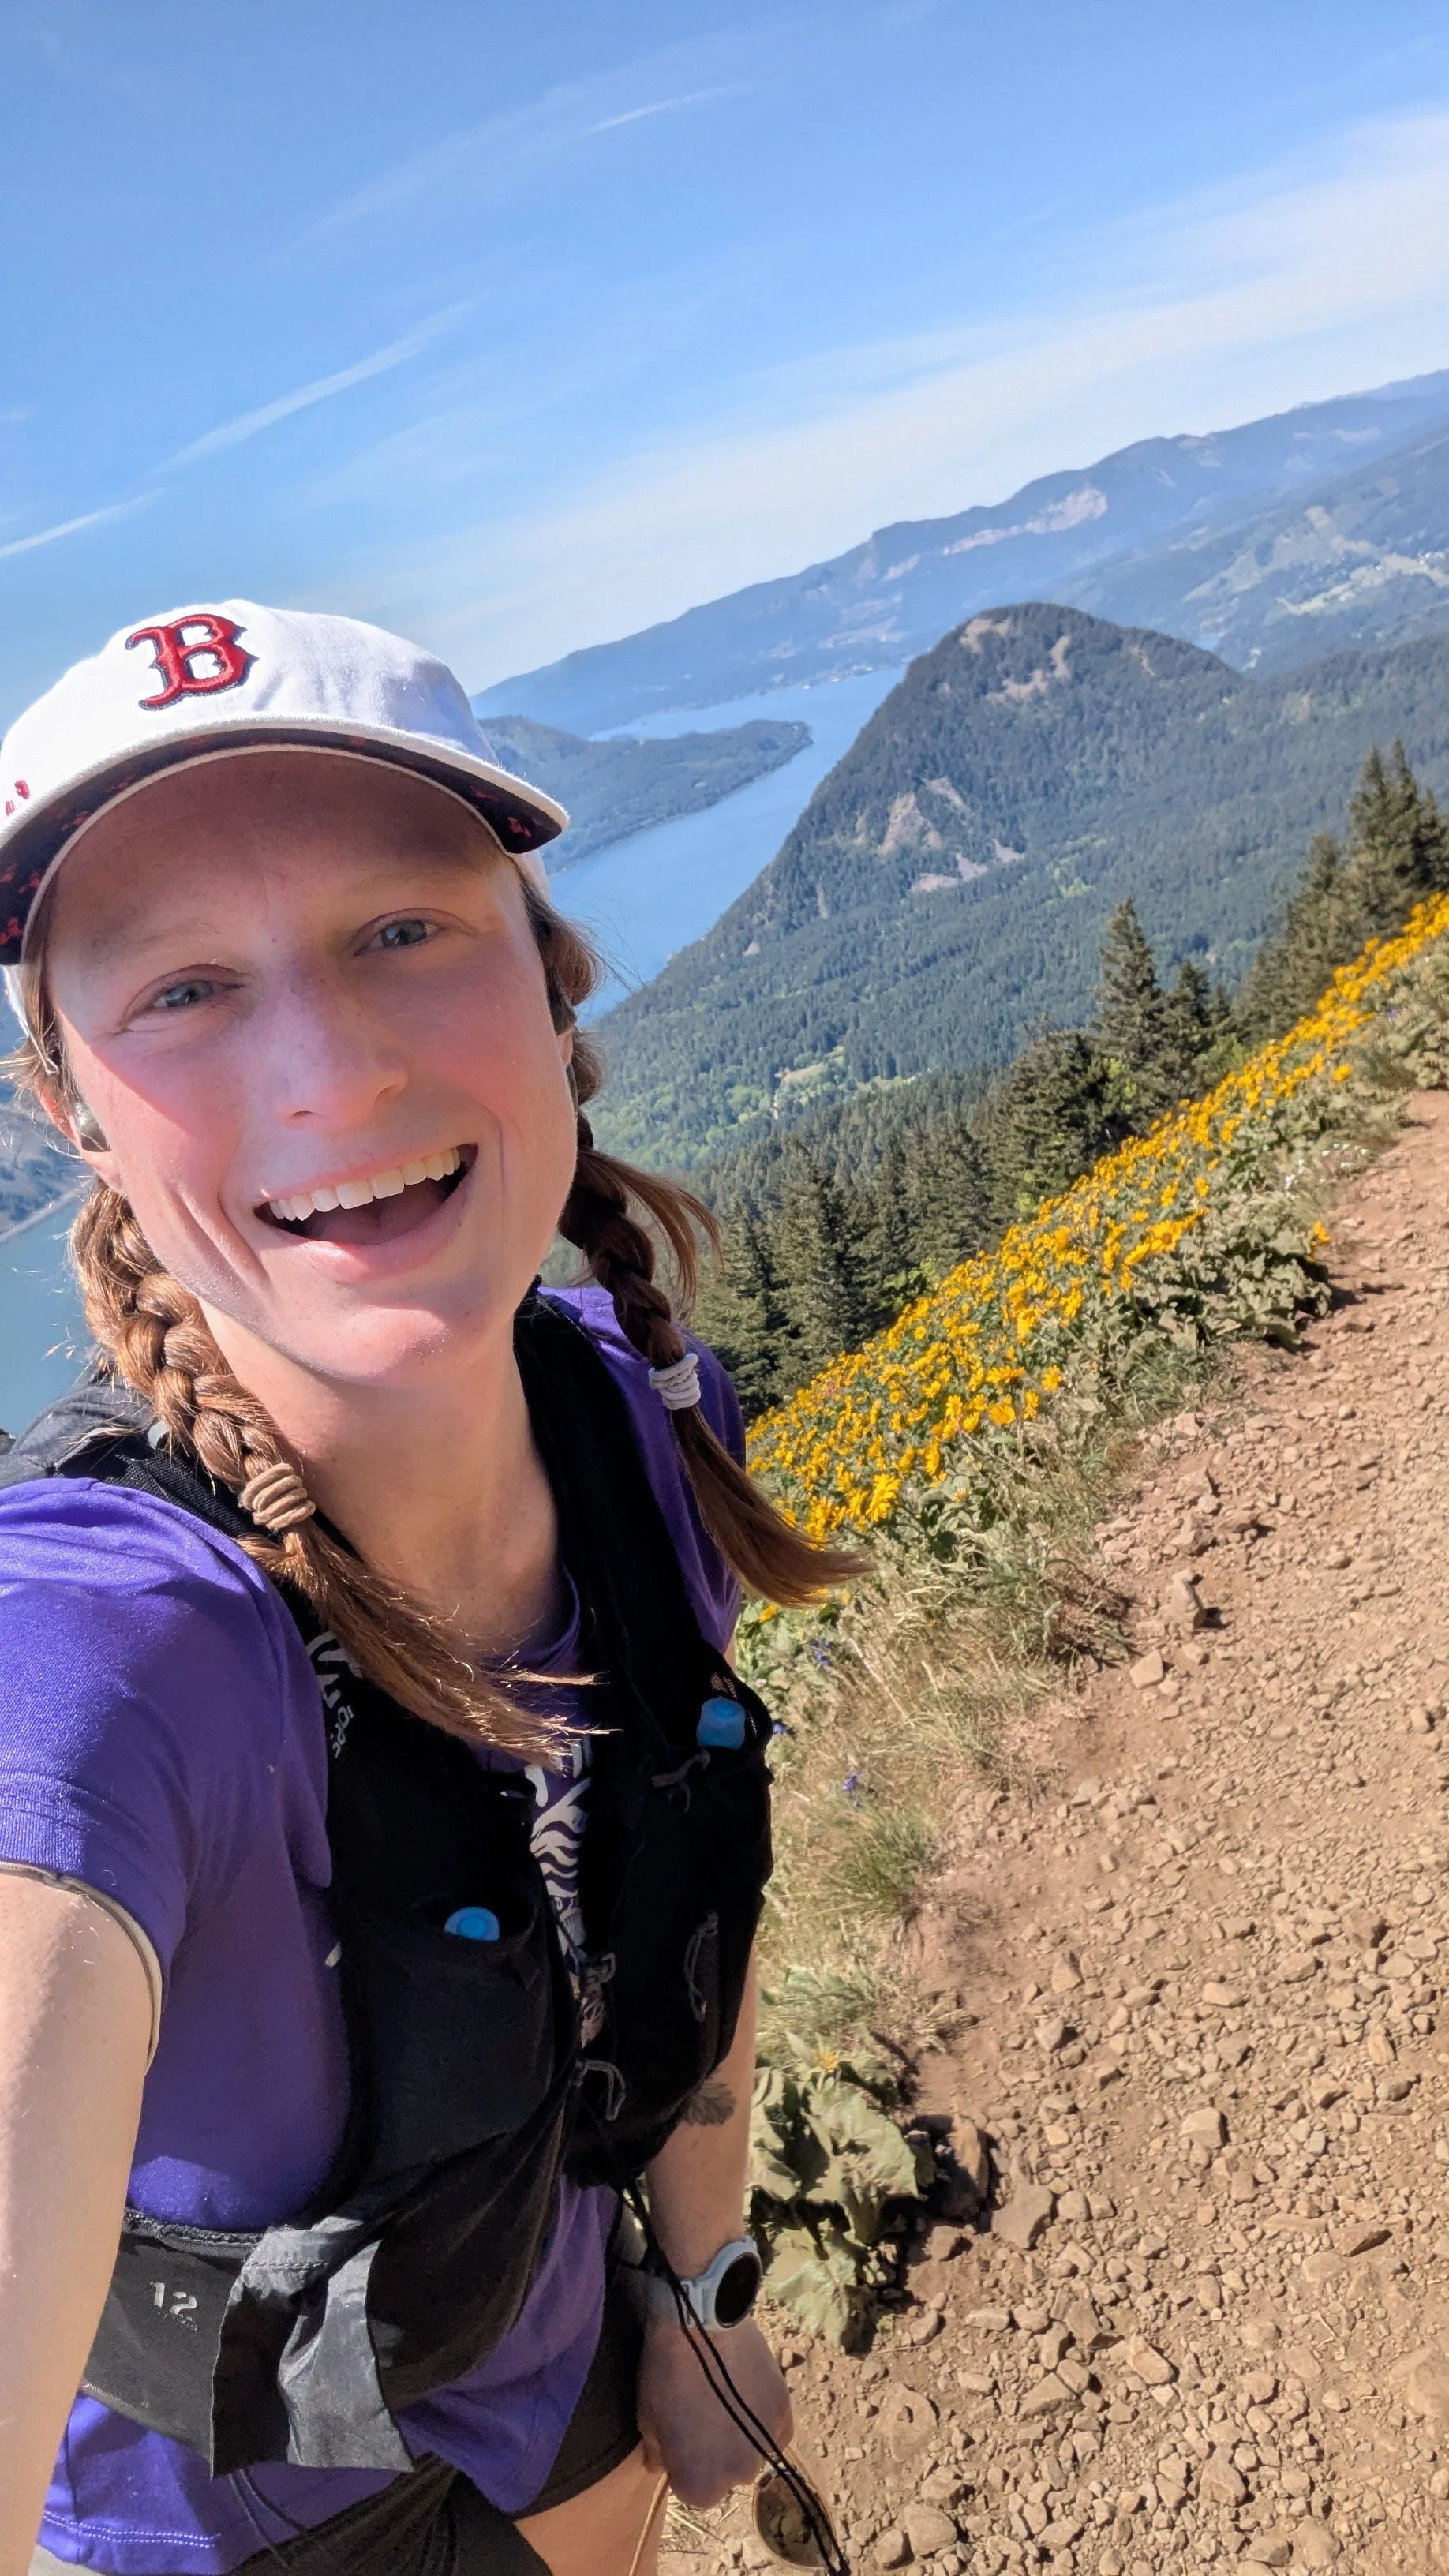
That’s me, Angie!
Tip #9: Do your parking and permit research.
In peak wildflower season on weekends, you need to grab a permit here. These can sell out in advance, so plan ahead! You’ll also need a Northwest Forest Pass or day-use fee ($5, card only at trailhead) for parking. Overflow parking along the highway is not safe (cars regularly zoom by at 70+ mph), so carpool if you can. Better yet, take the Dog Mountain Shuttle!